You can find instructions on how to request access to the systems on the dedicated page of the CSCS web site: please note that the systems can be reached via ssh from the front end Ela (ssh ela.cscs.ch). Existing users can manage their accounts and projects through a web-based tool: you can find a detailed description of the tool here.
Authentication at CSCS
Users at CSCS generally have one single account, identified by a username, which can be used to access the different services at CSCS. There are different ways to authenticate your identity in order to access services at CSCS, using a password set by the user. Currently users can be authenticated with:
- Classic ssh with CSCS username/password, and also with ssh-keys
- CSCS username/password on different web services. Sessions can be independent from each other so, signing into one service does not necessarily sign the user into another one
- CSCS username/password on a Single Sign-On gate, which once the user is authenticated, can move between services (connected to this gate) without signing in again
- Username/password from an external institution, provided that his/her CSCS account has been "linked" to that external identity beforehand and the service uses the Single Sign-On gate
If you have been requested to setup a 2nd authentication factor, you need to provide a 2nd factor after having entered your username/password. This new factor can be obtained after having register a device as explained in the section Multi-factor authentication
Single Sign-On
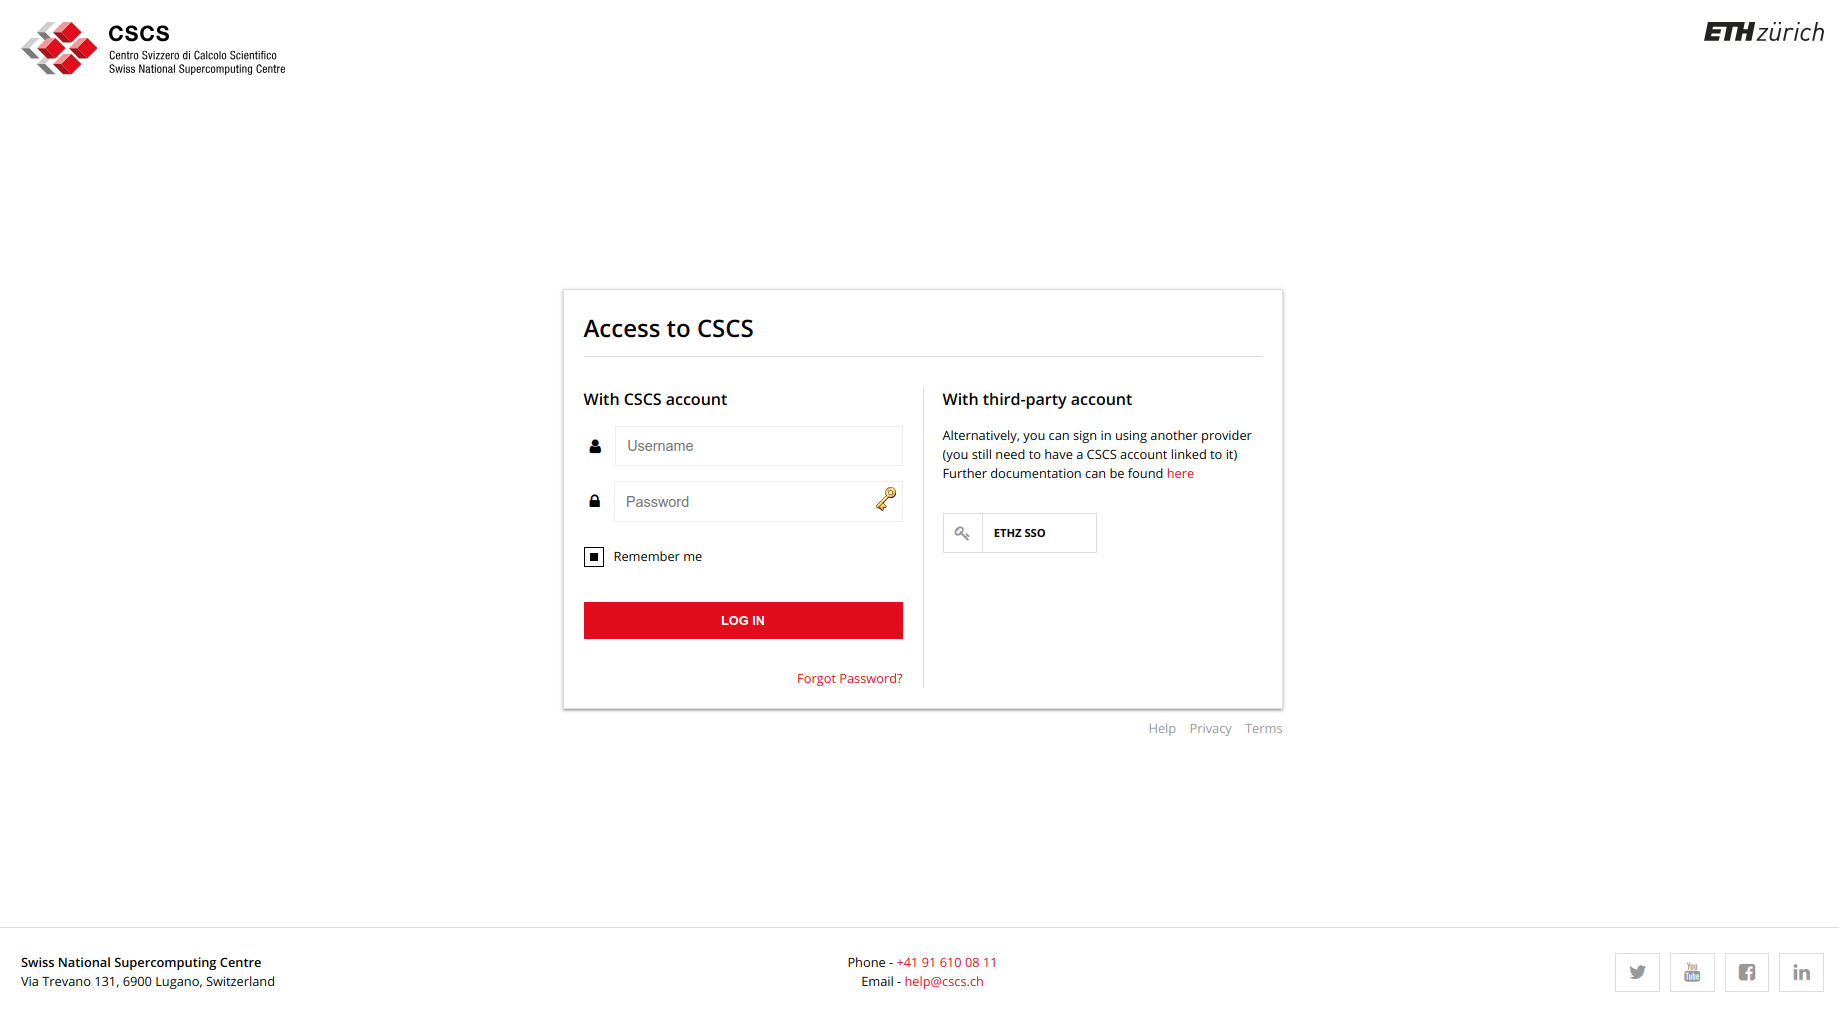
A growing number of services at CSCS are connected to the CSCS Single Sign-On gate. This gives users the comfort of not having to sign in multiple times in each individual service connected to this gate and increases security. Furthermore, the Single Sign-On gate allow users to recover their forgotten passwords and authenticate using a third-party account. The login page looks like
Using different accounts
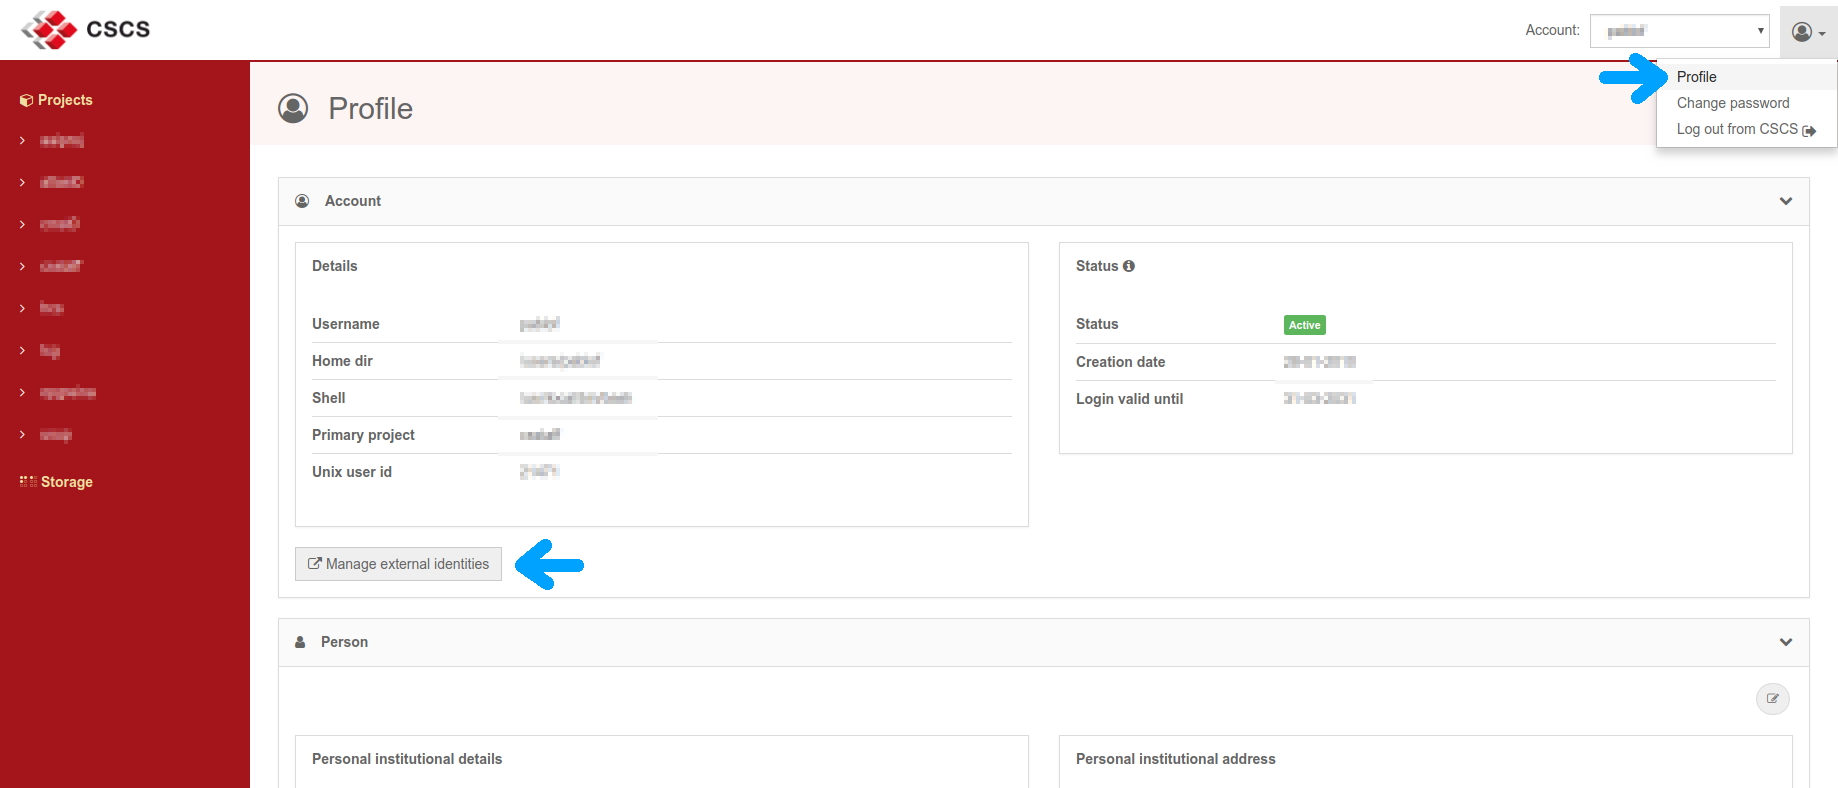
In order to use a different account, users have to log out of the Single Sign-On gate by going to the Account and Resources Tool and selecting "Log out of CSCS" on the upper-right profile icon
Signing in with a third-party account
All users at CSCS need to go through the standard registration process and get a CSCS account. In addition, they can also link their CSCS account to an external account, e.g. the one from their home institution. In this case, they can sign into the CSCS services using his/her home institution credentials instead of the CSCS username/password. This process happens only during the Single Sign-On procedure described above, and from that time on and for all purposes, and until the user logs out, the user identifier that presents itself to all CSCS services is the CSCS username, not the external one. The number of external institutions that are allowed to link their accounts is limited and displayed in the login page. The linking of external accounts can be done in the Profile section (upper-right corner) under the Account and Resources Tool .
Multi-factor authentication
If you are required to provide a second authentication factor, please refer to the Multi-factor authentication instruction. Note that the instruction below about SSH keys does not apply if you are required to provide a second factor.
Generating SSH keys if NOT required to provide a 2nd factor
CSCS suggests the use of ed25519 keys, avoid the use of DSA nor ECDSA keys. Legacy RSA keys are accepted and the use of a strong passphrase is highly recommended.
Please note that ed25519 is supported only from OpenSSH version 6.4 (2014) - Warning: Not supported on CentoOS/RedHat 6.
How to generate ed25519 keys
ssh-keygen -t ed25519
How to generate RSA keys
ssh-keygen -t rsa -b 4096
How to change your passphrase without changing the private key
ssh-keygen -f ~/.ssh/id_rsa -p
Copy your public key to the remote server
ssh-copy-id username@remote-server
ssh-copy-id -i ~/.ssh/id_ed25519.pub username@remote-server
Alternatively, you can copy the keys manually:
scp id_ecdsa.pub username@remote-server:
ssh username@remote-server
mkdir ~/.ssh
chmod 700 ~/.ssh
cat ~/id_ecdsa.pub >> ~/.ssh/authorized_keys
rm ~/id_ecdsa.pub
chmod 600 ~/.ssh/authorized_keys
Use different keys for different systems
Choose between different keys in the command line interface:
ssh -i ~/.ssh/id_ed25519 username@remote-server
Or adjust the ssh configuration file ~/.ssh/config following the example below:
Host SERVER1
IdentitiesOnly yes
IdentityFile ~/.ssh/id_rsa_SERVER1

Host SERVER2
IdentitiesOnly yes
IdentityFile ~/.ssh/id_ed25519_SERVER2
Note that you can adapt the ssh configuration file to access directly the systems: have a look at the corresponding FAQ for an example with Piz Daint.

